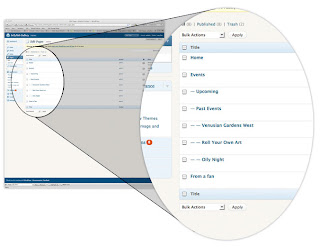
Let's take a look at where we are vs where we want to go. Notice in the image below the order in which the pages are listing. The one on the left is where we are and the one on the right is what we want. (Something you should note for this tutorial... it the images are too small click on it to see a larger view)
Step One
Go to your Wordpress Dash board and under Appearance choose Widgets. You will see the Pages widget in your sidebar. Under "Sort By" change the option from "Page Title" to "Page Order". Then SAVE!
Step Two
 Got to the Pages part of your Wordpress Dash board. Now THINK! No really. Check it out. It will just give you this list of pages. Take a moment and think out the order in which you would like them to display in the sideboard. Think about your Parent Pages and your Child Pages. Number out the order on a nice piece of paper if you need to.
Step Three
Choose the first page and select Edit. On the side of the dashboard screen you will see the Attributes panel. Under Order enter the nice number you carefully thought out in Step Two. Next choose Update Page in the upper left hand portion of your Dashboard. If you don't update it nothing will take effect and you will have to do it all again.
Step Four
Pour yourself a drink. And enjoy. And play with it... order can be switched around as many times as would like. Below is the end result of the new page order at the jellyfishgallery.com site.


No comments:
Post a Comment